A coding progression can help students build skills step by step, from giving precise instructions to creating and debugging programs. This article offers a practical plan for each grade band, including classroom activities, suitable robots, and suggested lesson time. In the United States, the 2026 CSTA PK–12 computer science standards list Algorithms & Design and Programming among their five core concepts; the plan below is our own suggestion, not part of those standards. To learn more about computational thinking, read What Is Computational Thinking? Meaning and Classroom Examples.
How do you build a coding progression?
Use three overlapping steps:
- Unplugged activities. Students give each other instructions, put steps in order, and guide a robot as it follows a line.
- Color codes. Students program the robot with short sequences of red, green, and blue blocks on a line. No screen is needed, but this is real code: an ordered set of instructions that the robot follows.
- Block coding. Students drag and drop code blocks on a computer or tablet and explore repetition, conditionals, and variables. In middle school, they can also get an introduction to text-based code.
The progression below is a teaching suggestion, not a mandated grade-by-grade sequence.
| Grade band | Step | Robot | Lessons per year (suggested) |
|---|---|---|---|
| Pre-K–Kindergarten (ages 4–6) | Unplugged activities and line following | Bit+ or Evo, with color-code magnets | 4–8 short lessons |
| Grades 1–2 (ages 6–8) | Draw color codes | Bit+ or Evo | 8 |
| Grades 3–4 (ages 8–10) | Explore color codes and try introductory blocks | Evo or Bit+ | 8 |
| Grades 5–6 (ages 10–12) | Block coding with conditionals, variables, and debugging | Evo or Ari | 8 |
| Grades 7–8 (ages 12–14) | Explore programming environments, design choices, and text-based code | Evo or Ari | 8 |
Eight lessons per year works out to two lessons per term. Adjust the schedule to fit your students and school’s curriculum.
Pre-K–Kindergarten: what can students do without a screen?
Young learners can experiment with programming-like activities, including robots and unplugged games. They can give a robot instructions, try them out, and make changes until they reach a goal.
- Play robot. One student gives instructions (“two steps forward, turn”), and another follows them exactly. Then work together to make a snack by following the class’s instructions. What happens if a step is missing?
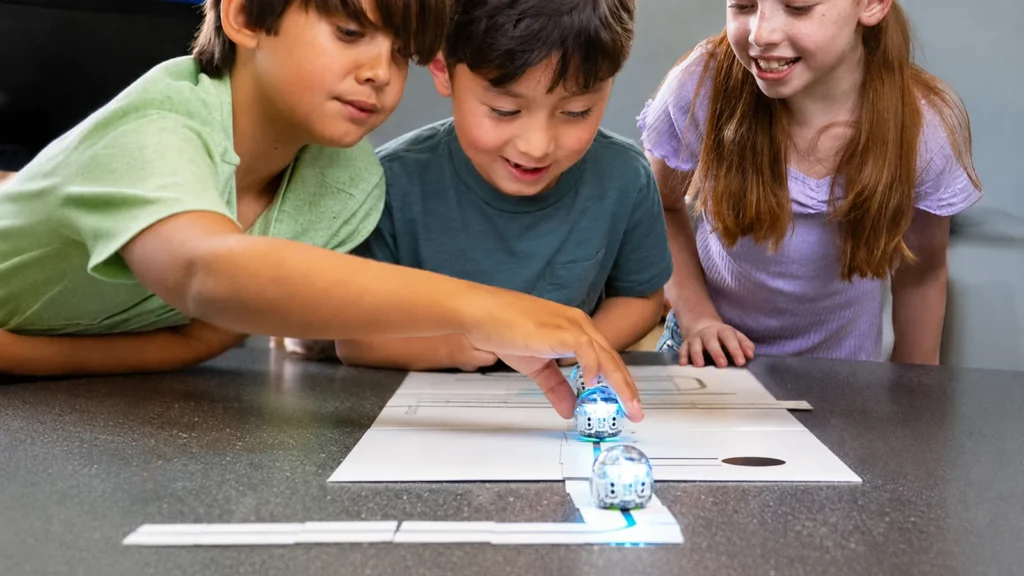
- Follow a line. Draw a thick black line on a large sheet of paper and ask students to predict where the robot will go.
- Explore color codes without drawing. With color-code magnets, young students can build a route with tiles and codes without needing to color in small blocks themselves.
Grades 1–2: how do students get started with color codes?
Students learn that a program is made up of instructions. Color codes are a good way to introduce these ideas: each code is an instruction, and its position on the line determines what the robot does.
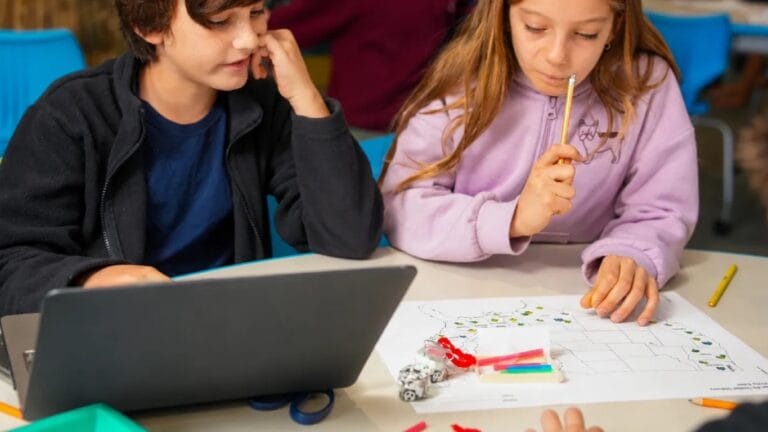
- Draw color codes. Students use markers to draw a line with codes for speed and direction, then test whether the robot does what they expect.
- Design routes with a color-code studio. Students build a route with tiles, place color codes on the line, and use a simulator to see what the robot does. Choose a page size and robot model, then print the route at full size. A code only works when placed where the robot can read it.
- Put a color-code reference on the wall. A color-code chart makes the codes easy to look up while students work.
Grades 3–4: when should students move on to blocks?
Students can deepen their understanding of color codes and take their first steps into block coding. Start with short programs that meet a clear goal, then test and improve them.
- Explore color codes in more depth. With codes for timers, line changes, and counters, students discover that a robot can keep track of information and count—a first introduction to variables.
- Try introductory blocks. With Evo, students move on to the Ozobot Editor. Bit+ can be programmed in OzoBlockly using a computer and a USB cable. Ask students to solve the same challenge first with color codes and then with blocks so they can see that both use sequences of instructions.
- Predict and debug. Ask students to write down what they think the robot will do before running a program. Comparing the prediction with the result is a useful starting point for finding errors.
Grades 5–6: what can students learn with block coding?
Students create and revise programs by designing, testing, debugging, and improving them. They work with loops, conditionals, and variables, and learn that readable code is easier to fix.
- Repetition and conditionals. Students program loops and make the robot respond to its sensors.
- Test each other’s code. Have pairs exchange programs and look for errors in each other’s work.
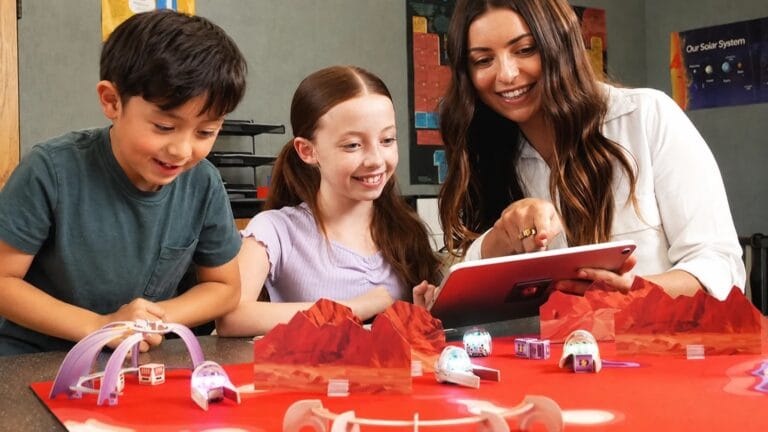
- Take on a project. Using a challenge mat, students break a mission into smaller tasks and program them one step at a time.
- Bring in AI. Students can explore how AI works by looking at inputs, a model, and outputs. For more on the role of coding in an AI-enabled world, read Is Learning to Code Still Worthwhile Now That AI Can Code?.
Ozobot designs Evo for Grades K–5 and Ari for Grades 3–8 (Evo, Ari). Ari reads the same color codes but needs more space: leave at least 38 mm between parallel lines, rather than 25 mm.
Grades 7–8: how can students continue after elementary school?
Students can try different programming environments, document their design choices, and combine several programming concepts in one program.
- Take a step back to move forward. Students may arrive with different levels of experience. Start with a short review of color codes or blocks so everyone has a shared starting point.
- Document design choices. During a project, ask students to record their goal, what they tried, and why they made changes.
- Move from blocks to text. Evo and Ari can also be programmed with Python. Show students how a block and a line of text-based code can carry out the same instruction.
How do you create a coding progression for your school?
- Choose a step for each grade band from the table above, and consider what your school already teaches.
- Make a yearly plan. Choose the grades and robots available at your school, then plan activities across the school year.
- Get your tools ready. Prepare a route-design tool and posters or reference sheets to display in the classroom.
- Share the equipment. One classroom set can rotate between grade groups. For advice on how many robots you may need, read How Many Robots Do You Need for a Classroom?.
- Review the plan after the first year. What worked, and where did students get stuck? Adjust the plan for the following school year.
Frequently asked questions
What is a good coding progression for elementary school?
Start with unplugged activities in Pre-K and Kindergarten, continue with color codes in Grades 1–4, and introduce block coding from Grades 3–4 onward. Two lessons per term for each grade is a practical starting point. This progression is a suggestion, not a required sequence.
What grade should students start coding?
Students can begin in Pre-K and Kindergarten with simple programming-like activities, such as robots and unplugged games. Young learners can give each other instructions and guide a robot along a line.
When should students move from color codes to block coding?
Grades 3–4 can be a logical time to introduce blocks, though students can start earlier or later depending on their experience. Have them solve the same challenge first with color codes and then with blocks so they can understand the transition.
How much time does a coding progression take?
There is no single required number of hours. Two lessons per term, or eight per year, is a manageable starting point. Many lessons take 30–45 minutes; challenge-mat projects may take longer.
Do you need a different robot for every grade?
No. Bit+ and Evo read the same color codes, and Evo also works with block coding, so Evo can support activities from the early grades through the upper elementary grades. Ari reads the same color codes and is designed for older students.