

7 accessoires voor Ari
- Bit+
- Evo
- Ari
Cones
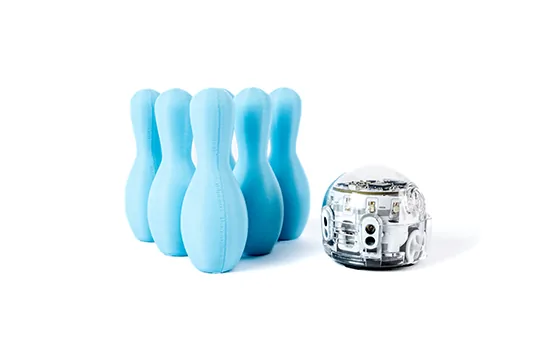
These bowling pins are the perfect size to use your Ozobot as the bowling ball. Print as many as you want, for one or more…
Printing instructions
Place the cone with the bottom facing down. Support is not required.

- Bit+
- Evo
- Ari
Blocks and barrels
Each block and barrel is an obstacle your Ozobot can navigate around. They’re also the right size to push or…
Printing instructions
Place the block or barrel with a flat side down. Support is not required.
- Bit+
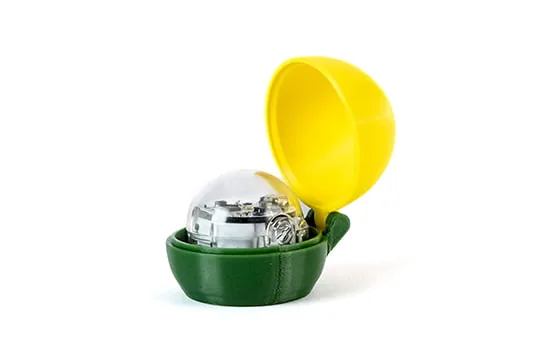
Case for Bit+
Protect your Ozobot Bit+ in your backpack or pocket. The small case prevents the Bit+ from being switched on accidentally and keeps dirt out…
Printing instructions
Place the bottom of the case with the flat side down and the top with the open side down. The top requires support.
- Evo
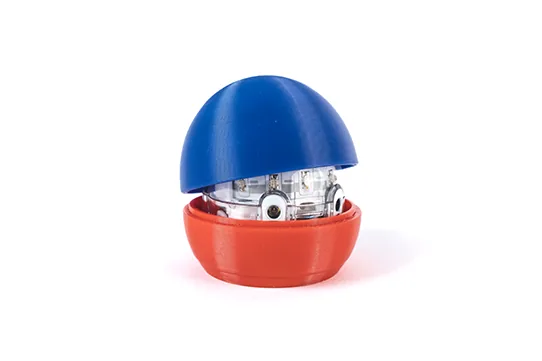
Case for Evo
Protect your Ozobot Evo in your backpack or pocket. The small case prevents the Evo from being switched on accidentally and keeps dirt out…
Printing instructions
Place the bottom of the case with the flat side down and the top with the open side down. The top requires support.
- Evo
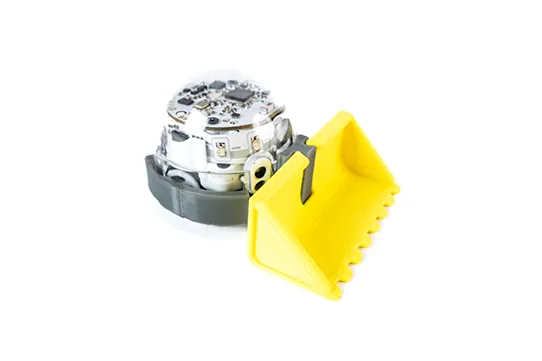
Evo Dozer
Turn your Evo into a bulldozer. With this attachment Evo can push and move pucks, blocks and barrels, or knock them over.
Printing instructions
Place the dozer with the flat bottom down. Support is not required.
- Evo
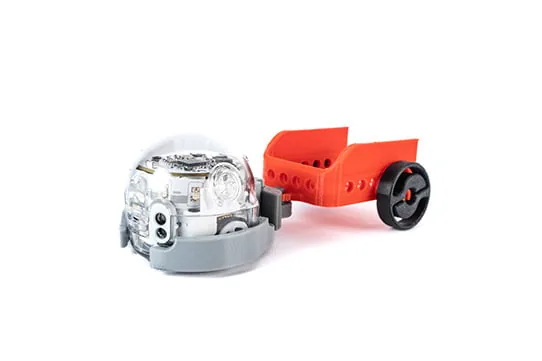
Evo Trailer
Turn your Evo into a small tractor. The wheels click onto the trailer, so Evo can pull items like the puck,…
Printing instructions
Place each part with the flat bottom down. Support is not required.

- Evo
Evo Hat
The versatile hats give your Evo its own personality. Each hat has a different way to attach or connect your creations.
Printing instructions
Place each hat with the top facing up. Support is required for a successful print.
- Evo
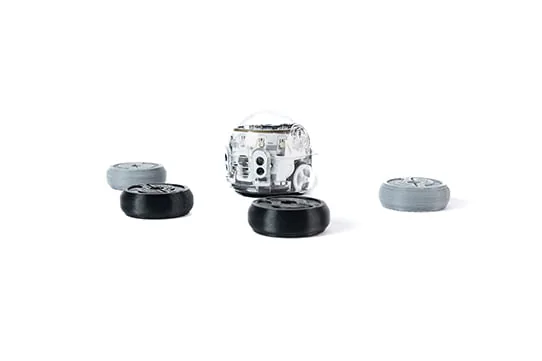
Evo Pucks
These pucks are ideal for games with Evo, or for dragging from place to place with the Evo Trailer.
Printing instructions
Place each puck flat. Support is not required.

- Evo
Evo Hockey Stick
With this double hockey stick Evo has the best chance to score. The stick moves the puck effortlessly and also works well for other…
Printing instructions
Place each part with the flat bottom down. Support is not required.
- Evo
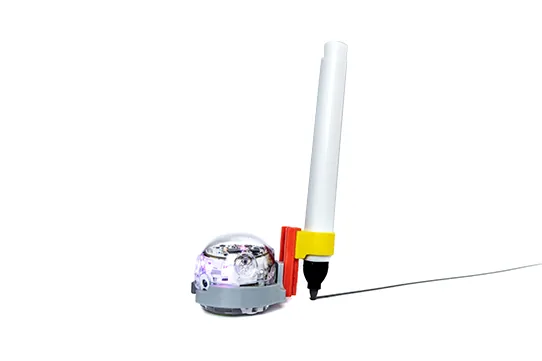
Evo Pen Holder
The pen holder consists of three parts: the clip (which snaps onto the Evo), the riser tube (for height) and the collar (which…)
Printing instructions
Place each part with the flat bottom down. Support is not required.

- Ari
Ari Arms
Until now you could only use Evo on the Ozobot Challenge Mats. With these arms Ari is suitable too. The sturdy attachment provides…
Printing instructions
Place each part with the flat bottom down. Support is not required.

- Ari
Ari Pen Holder
The pen holder consists of three parts: the clip (which snaps onto the Ari), the riser tube (for height) and the collar (which…)
Printing instructions
Place each part with the flat bottom down. Support is not required.

- Ari
Ari Dozer
Attach the mini bulldozer and let Ari push, collect or knock over light objects, like the puck, the barrel and the block. Fun for free play…
Printing instructions
Place each part with the flat bottom down. Support is not required.

- Ari
Ari Hockey Stick
With this double hockey stick, Ari has the best chance of scoring. The stick moves the puck precisely and also pushes other small objects…
Printing instructions
Place each part with the flat bottom down. Support is not required.
- Ari
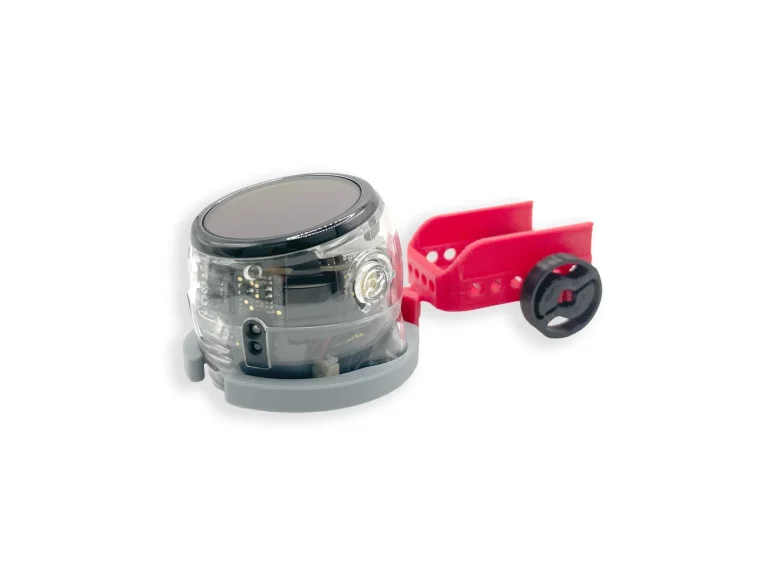
Ari Trailer
Turn Ari into a small truck. The wheels simply click onto the trailer. Carry small objects like the puck, the barrel and the…
Printing instructions
Place each part with the flat bottom down. Support is not required.
There are no accessories for this robot yet. View all accessories.