
Free poster
Calibrating Ozobot
Full-size calibration circles for Bit+, Evo, and Ari, with the steps for each robot.

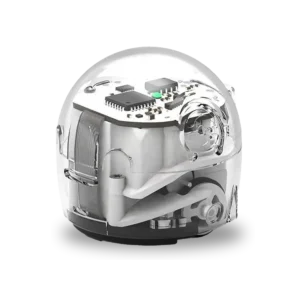
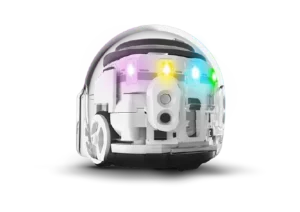
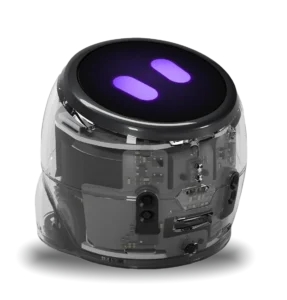
Free to download as a PDF in A4 and A3. No account or email address needed.
Download A4 (opens in a new tab) Download A3 (opens in a new tab)
Print at 100% (actual size), not “fit to page,” to ensure the measurements on the poster are correct.
How to use this poster
- Print the poster on plain white paper at 100% (actual size) and don’t laminate it.
- Measure the check bar: it should be 50 mm. If it’s shorter, print again.
- Calibrate each robot at the start of class in the circle for its model, and follow the steps on the poster.
Questions and answers
How often should I calibrate an Ozobot?
Before each class, when you change surfaces (for example, from paper to a printed route), and when the robot doesn’t read the line or codes correctly. Classroom lighting also affects the sensors.
Why is the circle for Ari larger?
The circle must be slightly larger than the robot. Ari is larger than Bit+ and Evo, so its circle is 50 mm, and the circles for Bit+ and Evo are 40 mm.
Can I laminate the poster?
Do not laminate the calibration circles: the robot cannot calibrate properly on a laminated surface. Print the poster on plain white paper.
How do I know if the poster was printed at the correct size?
Measure the check bar at the bottom: it should be 50 mm. If it is shorter, print again at 100% (actual size), not fit to page.
My robot is flashing red. What should I do?
That means calibration was unsuccessful. Place the robot exactly in the center of the circle and try again. If it still doesn’t work, check that the circle is solid black and not laminated.
Sources
The content of this poster is based on Ozobot calibration tips and guides.